Let’s Make Soap
Soap is a common gateway project for those looking to enter the world of handmade goods and self-sufficiency. Whether you are just making it for your household, or looking to make a little money on the side, making soap can be a fun and relaxing project. Once you have a basic understanding of oil to lye ratios, you can mess around with different types of oils and scents to make a custom bar that meets your needs. You can even make medicinal soaps for eczema and other skin conditions.
But why should you bother when you can just go to the store and buy soap there? Here are a few reasons.
First: the chemicals found in many store bought soaps can cause more skin irritation and leave you with that “tacky” feeling after a shower, because those chemicals are stripping the good oils from your skin along with the dirt and leaving residue behind. I, and many other people, have allergic reactions to those chemicals and fragrances found in store soap. Keep in mind also that your skin is a gateway to the rest of your body and whatever you apply to it gets absorbed.
Second: Depending on the ingredients you choose to use, it can also be more cost-efficient to make your own soap. I won’t spend time doing a full cost breakdown and analysis, but most recipes I have found will make about 3lbs of soap. I usually cut my loafs down into twelve, 1 inch thick bars. Assuming you use it in the shower every day, that is several months worth of soap for potentially less money than your monthly Netflix subscription.
Finally: It’s rewarding! Making anything with your own hands, whether it be food or household goods, brings a little sense of pride and confidence. How wonderful it feels to use something that you made and it works better than anything you get at the store! Use your favorite essential oil, add some ground oats or ground coffee for exfoliation, experiment with natural dyes, make it artsy or make it simple, make it your own. “The Natural Soapmaking Book for Beginners” by Kelly Cable gives a great explanation of the basics for lye and oil ratios, different types of oils and their effect, and some simple recipes.
I don’t intend for this post to be a deep dive into soap making techniques. Maybe in the future we can discuss the differences between cold-press and hot-press, different oils and their uses, etc. This is just to get us started in the right direction.

Below is a recipe for a simple, moisturizing soap base. After mixing the oils and bringing it to trace, you can add 1oz of your favorite essential oil (or a mix of them), a few tablespoons of natural clay (such as the French pink clay found in my Pink Clay and Vanilla bars), or other natural dye, or even an exfoliator. This will make a 3lb loaf.
To get started you will need:
Safety Equipment:
Long sleeves, gloves, and safety glasses. The lye/water mixture is caustic, so you will want to protect exposed arms and hands.
An apron to protect your clothes
Other equipment: It is best practice that any equipment you use to mix soap should be dedicated to soap and kept separate from food.
A large glass bowl
Wooden spoon or rubber spatula and/or immersion blender
Kitchen scale
Glass measuring cup
Oils: measure by weight
10oz unrefined coconut oil
4oz unrefined shea butter
10oz olive oil
8oz sweet almond oil
1oz castor oil
4.8oz Sodium Hydroxide
10oz distilled water
1oz essential oil of choice
2-3 Tablespoons of natural clay and/or exfoliator
Step 1: Weigh out lye and oils
Using a small glass bowl, measure out 4.8oz of lye. Measure out 10oz of distilled water in a separate glass measuring cup. Very carefully pour the lye powder into the water - NEVER pour water into lye powder - and mix with a spoon made of non-reactive material. Do not use metal. Try not to inhale the fumes that will come up from the mixture. I always have small fan on hand to push the fumes out of an open window. The lye needs to cool down to about 100-110 degrees Fahrenheit.

While the lye cools, measure out your solid oils (in this case that is the coconut oil and shea butter). You can either melt the oils in a double boiler or put them in a sauce pan on a low heat. They should be heated to 100-110 degrees Fahrenheit. While those melt, measure out the olive oil, sweet almond oil, and castor oil in a large glass bowl.
Step 2: Mix Oils and Lye. Bring to trace
Once the lye and oils are at the proper temperature, pour the melted coconut oil/shea butter mixture in with the other oils in the large glass bowl. Then, very carefully pour the lye mixture into the oils. At this point, you can use either a wooden spoon or an immersion blender to bring the mixture to “trace”. The mixture reaches “trace” when it has similar consistency to thick pudding (see video below). An immersion blender will make this happen much faster, just be careful not to burn out the motor. Mix with the blender for about a minute, then let the mixture rest for about 2 minutes, then blend for another minute, repeating until the mixture reaches that pudding-like consistency.
Step 3: Add essential oils and other optional ingredients
Once the mixture is at trace, its time to add your essential oils, and clay or exfoliator. IF using dry ingredients, add them first, then blend thoroughly to ensure even distribution, using the rubber spatula to scrape down the bowl as needed. Add the essential oils last, using the rubber spatula to gently stir them in until fully incorporated.
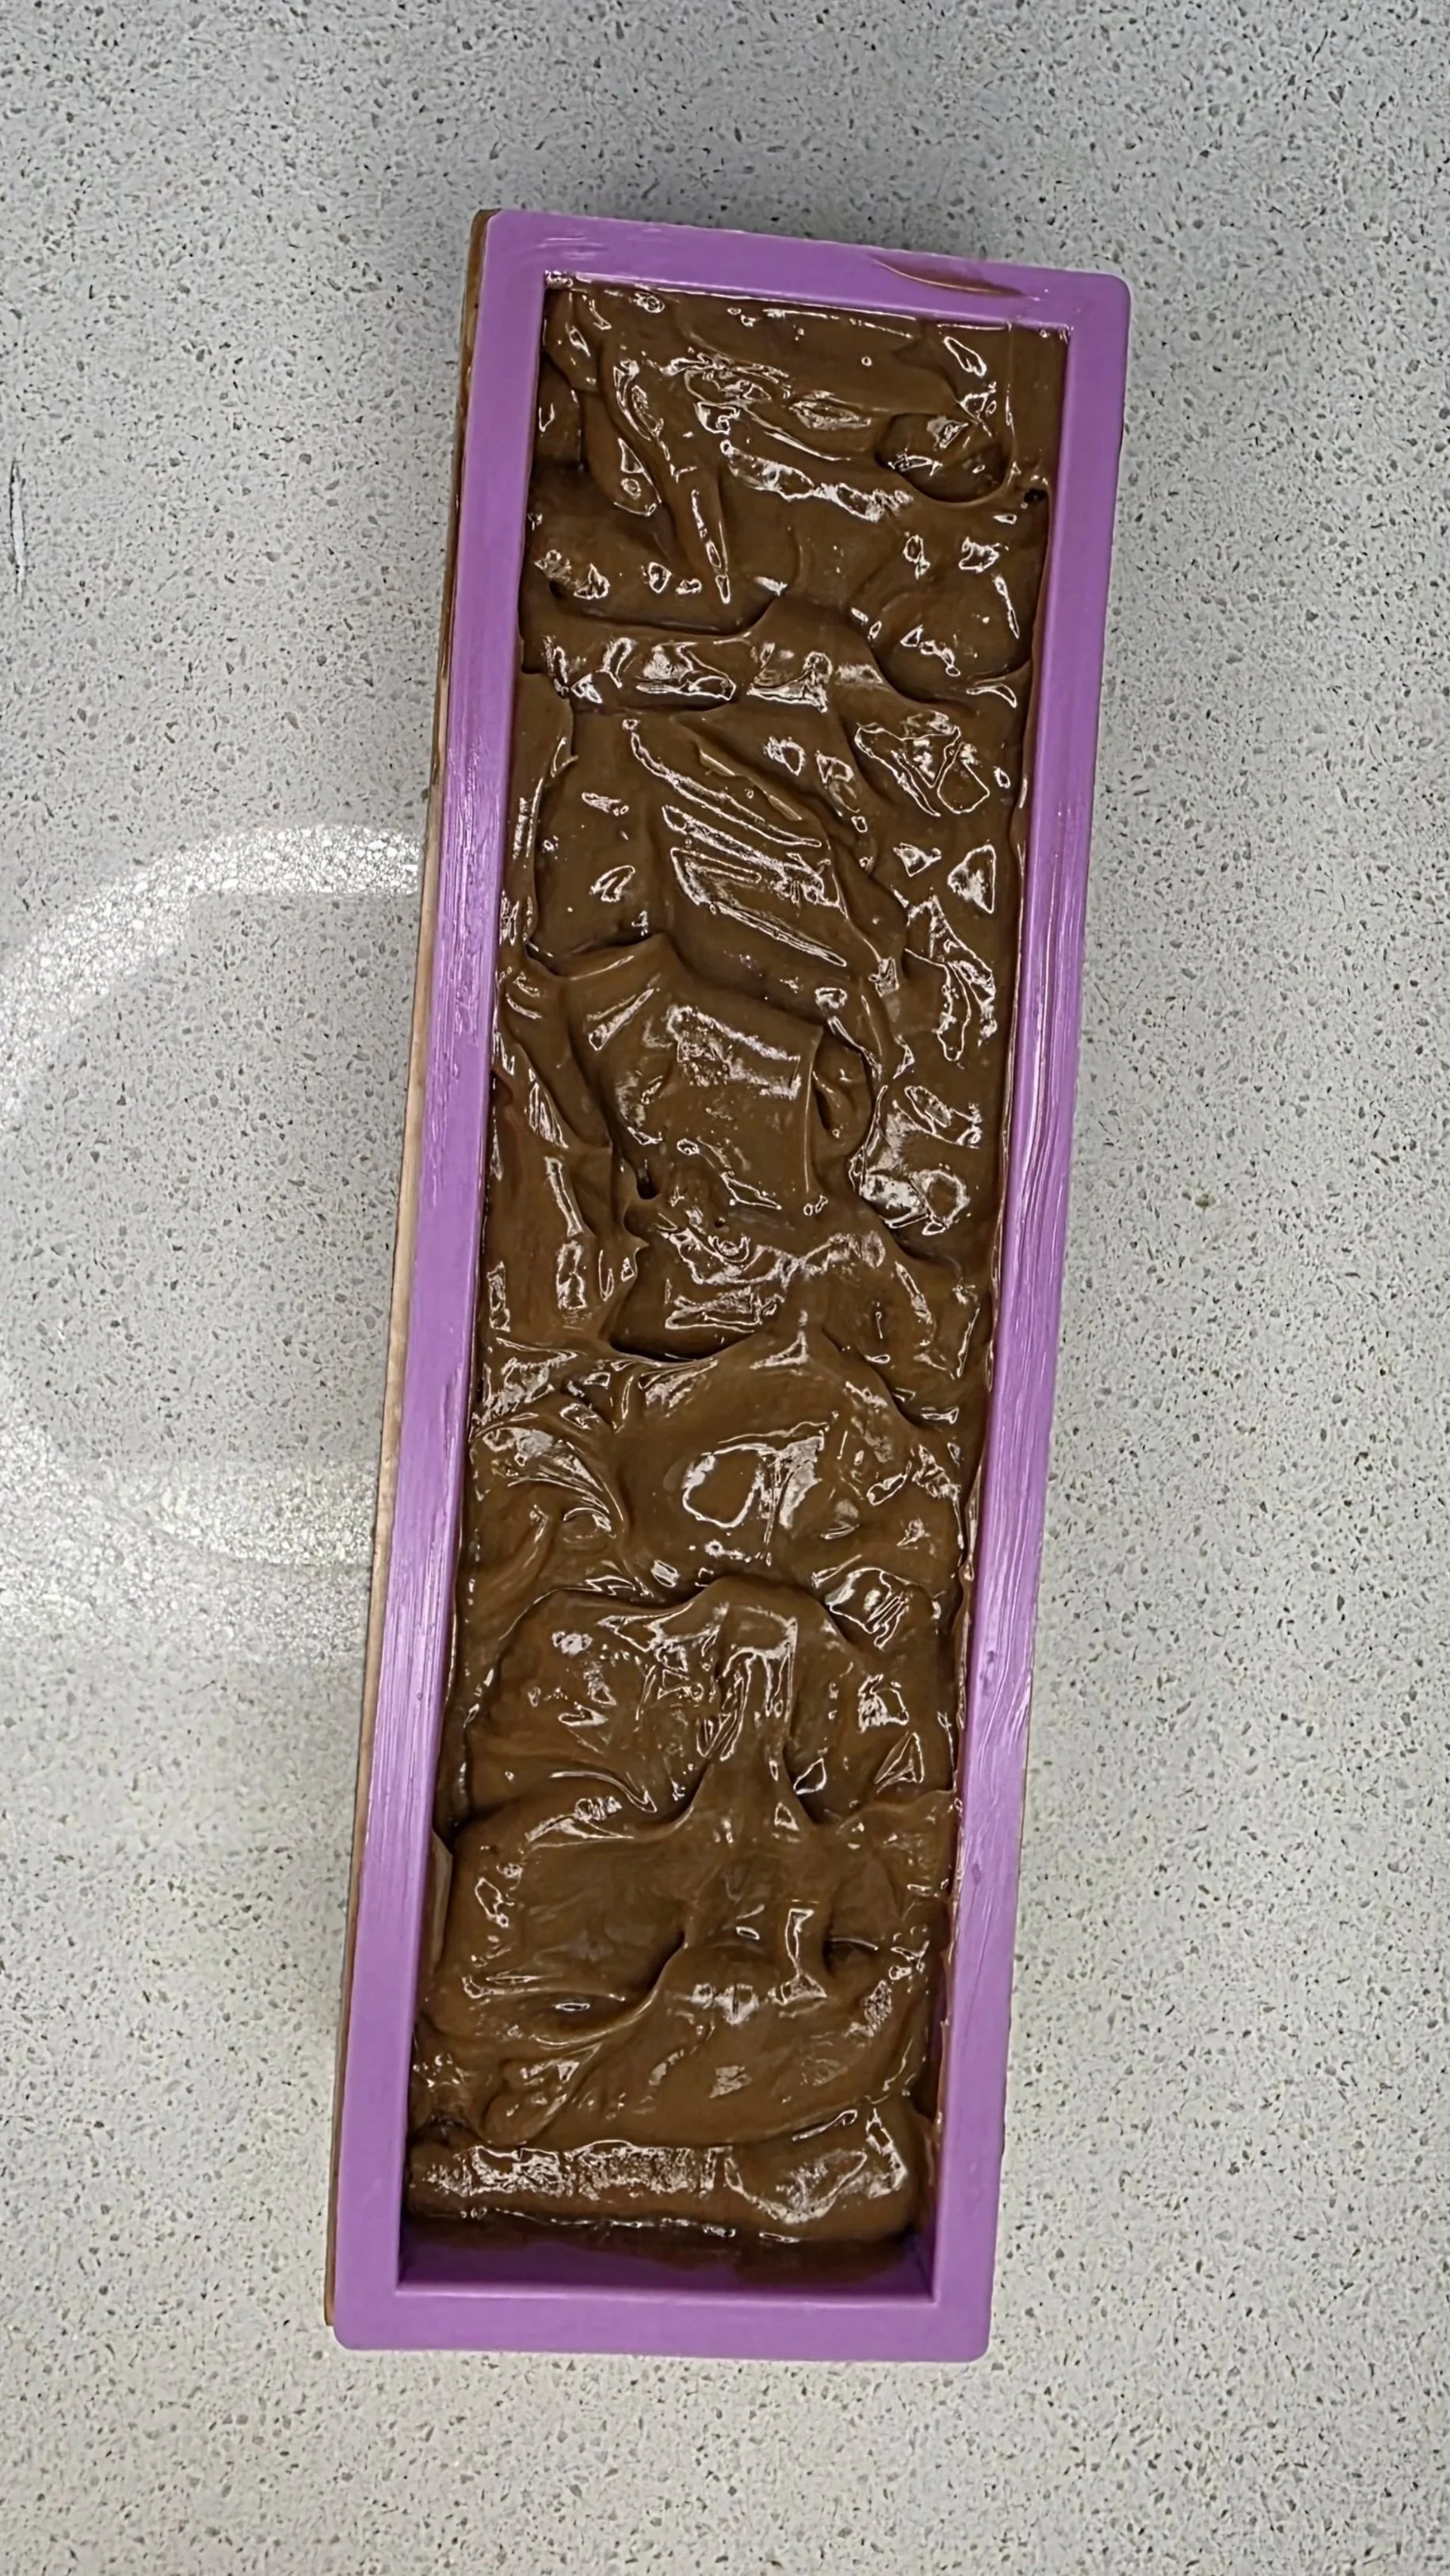
Step 4: Pour into mold, slice and cure
Carefully pour the mixture into your mold, making sure you push it into the corners and try to push out any air pockets. I don’t worry too much about smoothing out the top. I think the uneven heaps and swirls give the finished soap an nice “hand-made” look. If you want to give the top a specific design or add some decorative topping, now is the time. Next, I like to put some wax paper of the top of the mold to help prevent soap ash from forming on the top of the loaf as it starts to cure. Then, I wrap the mold in a clean cotton towel and leave it to sit for 2 days.
After 2 days, remove the loaf from the mold (use gloves) and slice it down as thick or thin as you’d like. Place the slices on a drying rack and allow to cure in the open air for 3-4 weeks. Now you have soap!
Making your own soap is a rewarding and fun project. You get to feel good about controlling what goes into it, potentially save some money, impress your loved ones with a unique handmade gift, and enjoy the fruits of about an hour of labor when your favorite essential oils delight your nose in the shower. It may not seem like a big deal, but if you are looking for a way to start being a little more self-sufficient and mindful of what is going into your body, soap is a simple way to start.
If soap making isn’t for you, that’s ok too! Head on over to the shop, where I have already done the work for you!